
How to Iron Fuse Beads Without Warping, Curling or Cracking (EVA+PE Guide)
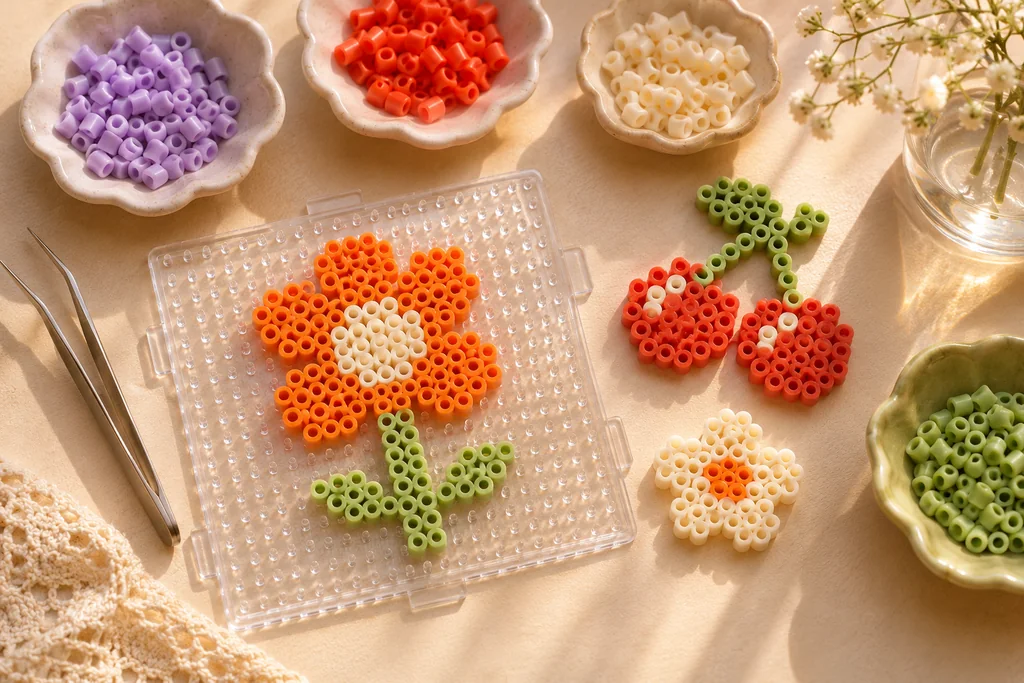
Few things are more frustrating than spending two hours placing 2,000 tiny beads—only to watch the edges curl upward like a potato chip or snap along a thin outline the next day. Warping and brittle cracking come down to two factors: bead polymer chemistry and heat/cooling control.
1. Why EVA + PE Composite Beads Resist Warping & Cracking
Many budget melty beads are extruded from stiff, single-grade LDPE or brittle recycled plastic. Single-material beads have a narrow melting cliff: slightly too cool and adjacent walls barely tack together; slightly too hot and the plastic shrinks unevenly, pulling your pegboard pins inward and curling the finished piece.
Every YayBead 2.6 mm Mini and 5 mm Standard shade uses a balanced EVA + PE composite blend:
- PE (Polyethylene) provides structural wall stability and clean cylindrical shape on the pegboard.
- EVA (Ethylene-Vinyl Acetate) adds supple post-melt flexibility, widens the steady melting window, and locks in high pigment saturation—so thin pixel details bend slightly instead of snapping cleanly in half.
2. Recommended Ironing Temperature Chart
Always turn steam completely OFF and empty any water from a household iron, or use our dedicated Mini Fuse Bead Craft Iron ($24.99) available in US 110V, EU 220V, UK 220V, and AU 220V plug standards.
| Bead Size | Target Soleplate Temp | Household Dial | Pass Duration |
|---|---|---|---|
| 2.6 mm Mini (EVA+PE) | 140 – 155 °C (285 – 310 °F) | Medium / Wool | 8 – 15 sec gentle circles |
| 5 mm Standard (EVA+PE) | 150 – 165 °C (300 – 330 °F) | Medium-High / Wool–Cotton | 15 – 25 sec gentle circles |
3. Step-by-Step Flat-Melt Workflow (Plus the Masking Tape Method)
- Protect your pegboard (for large pieces): On multi-board projects wider than 52 pegs, apply breathable painter’s masking tape firmly across the beads, poke small air holes into enclosed sections so trapped hot air doesn’t cause “blowout” holes, and lift the taped design off the pegboard before ironing. This keeps your clear interlocking pegboards crystal-flat for years.
- Cover with non-stick ironing paper: Lay a crisp sheet of ironing paper over the beads. Never touch bare metal directly to fuse beads.
- Glide in slow, overlapping circles: Apply light, even wrist pressure—let heat do the work rather than mashing downward. Watch through the translucent paper until each bead’s center ring softens and bonds cleanly with its four neighbors.
- Flip & lightly fuse the reverse side (optional): Peeling the paper once slightly warm, flipping, and giving the back a 5–8 second pass equalizes surface tension on both faces.
- Cool under a flat weight (crucial!): Immediately slide the warm piece onto a cool, flat tabletop and rest a heavy hardcover book on top for 5–10 minutes until completely room temperature.
Ready to start your next bead project?
Try our free Photo-to-Pattern Studio or browse 24-to-221 color EVA+PE kits—free shipping over $60.